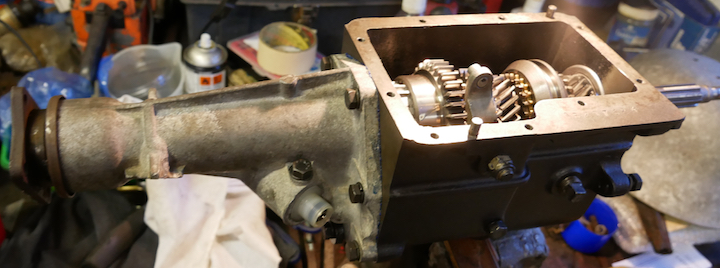
There is some difficulty in rebuilding a gearbox produced 50 years ago, particularly one that is completely worn out. Most parts are no longer available, and those that are may be poor quality reproductions.
As such, the best way to approach this task is to make a good gearbox from several unknown ones. In this case, I had three gearboxes to hand. Fortunately Herald gearboxes aren’t complex, and don’t require any specialist tools. The design follows many other gearboxes of the era,.
Disassembly
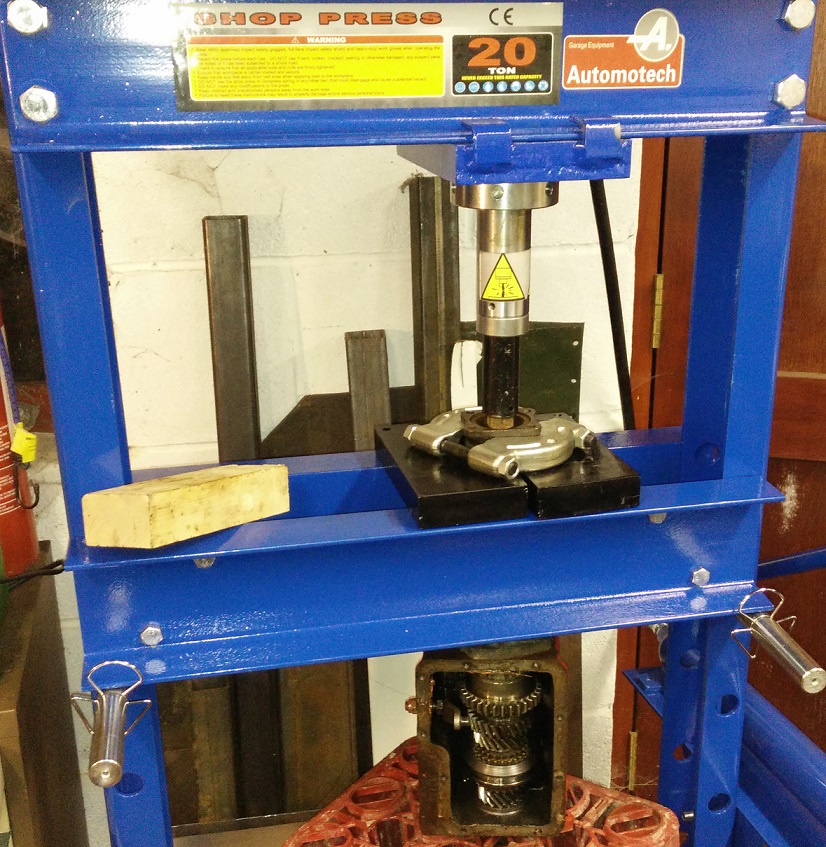
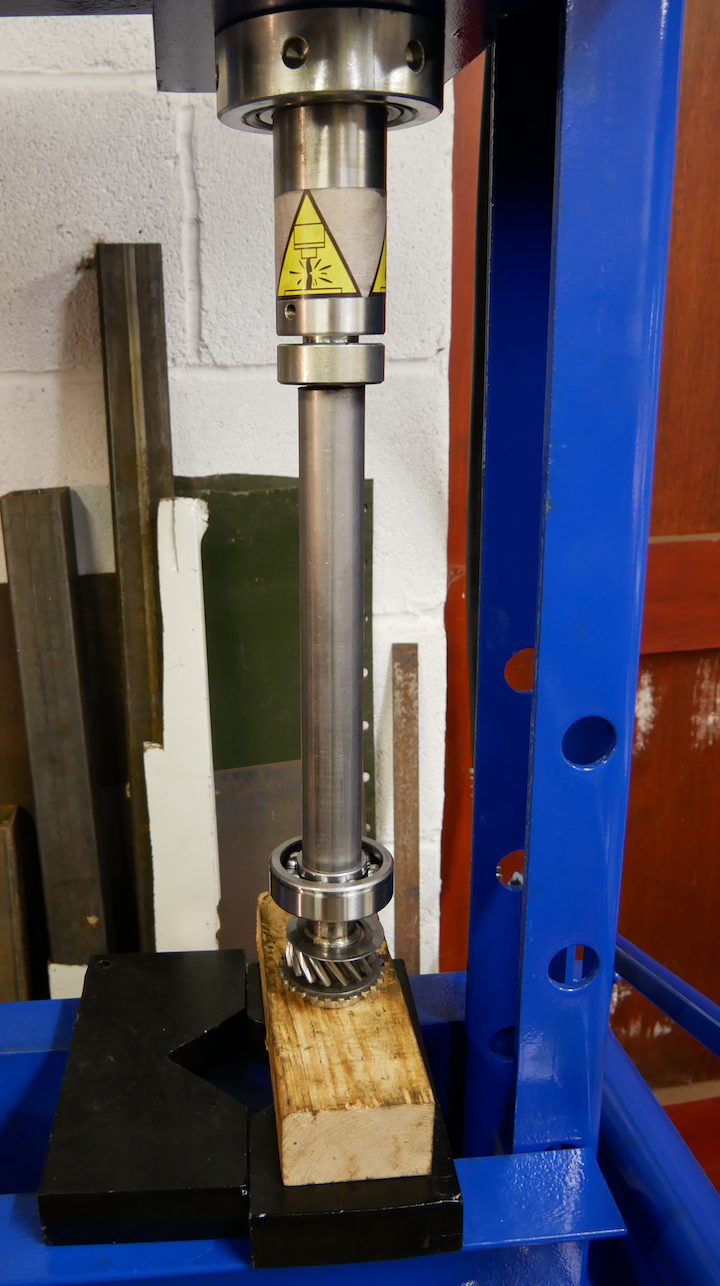
I started by removing the covers and then the output flange – this can be a pain as as every one had rusted in place. Hydraulic press might have been a bit overkill.
After this I removed the rear extension – the only places to hit are the bosses for the gearbox mounting bobbins. I’ve had success with a long brass drift and hammering against these, but it’s still easy to cause damage to the extension housing (ask me how I know).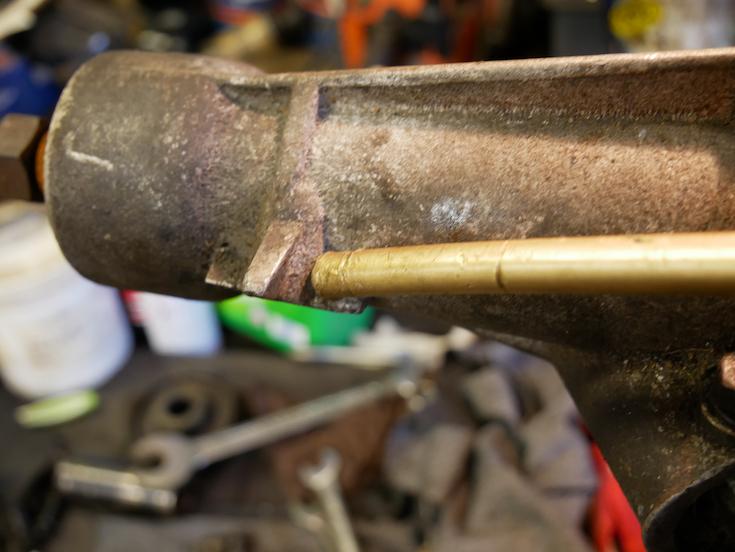
Then I removed the counter shaft (drops the cluster out of mesh) and carefully drifted the input shaft out.
I did the same for the mains shaft bearing. Then I could remove the components from the shaft. I found it helpful to put these on piece of wire, to maintain the order.
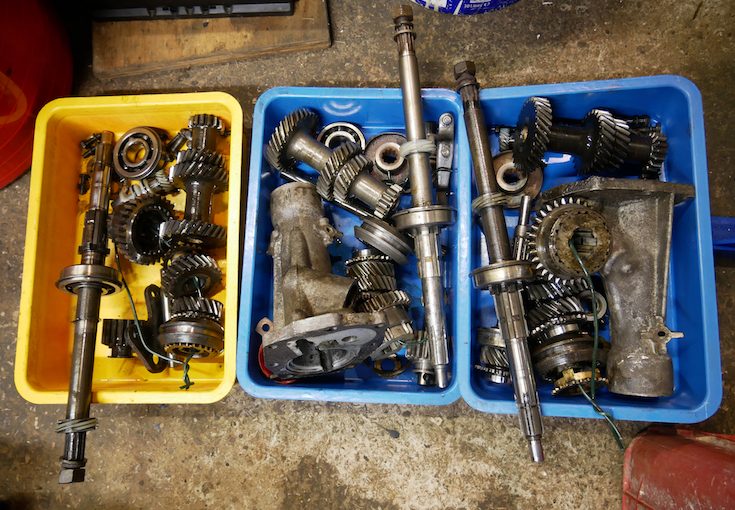
Selecting Parts
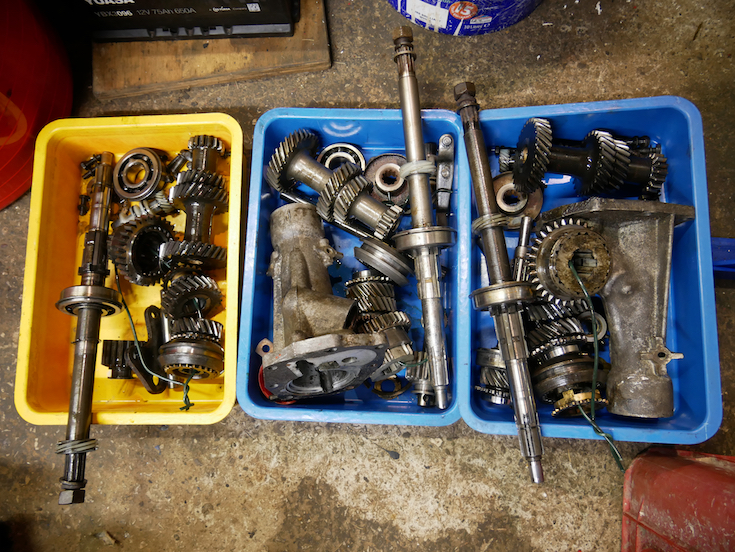
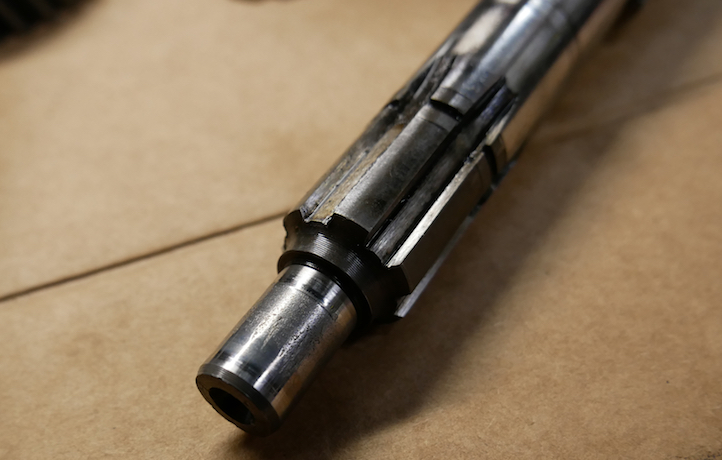
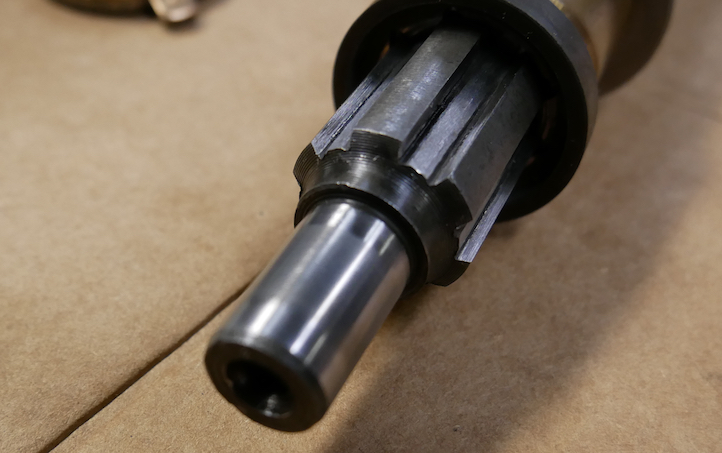
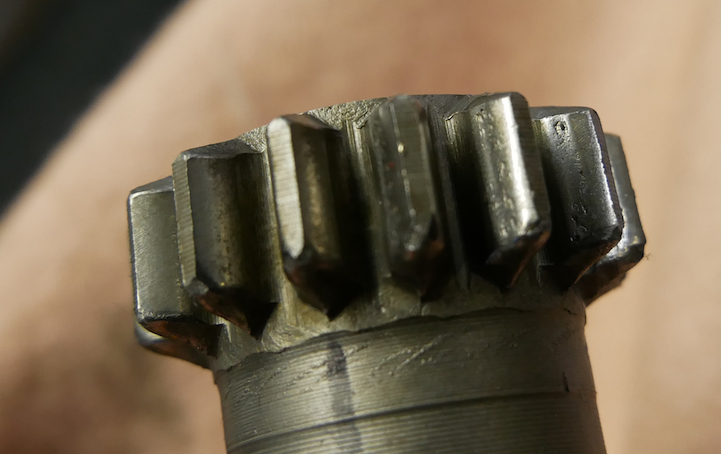
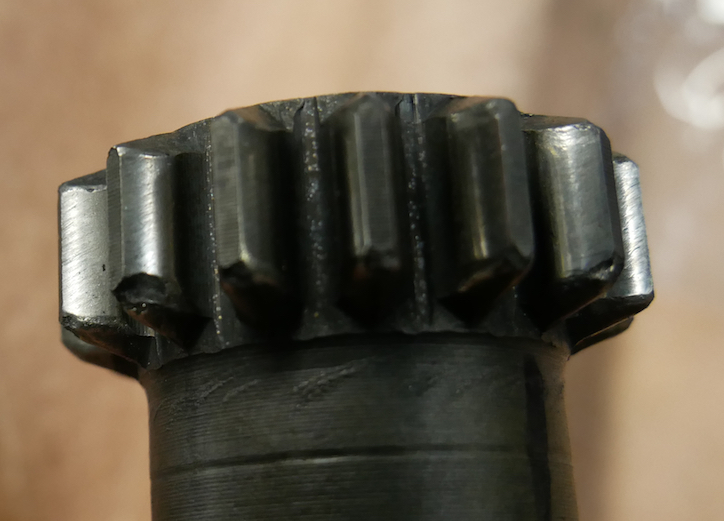
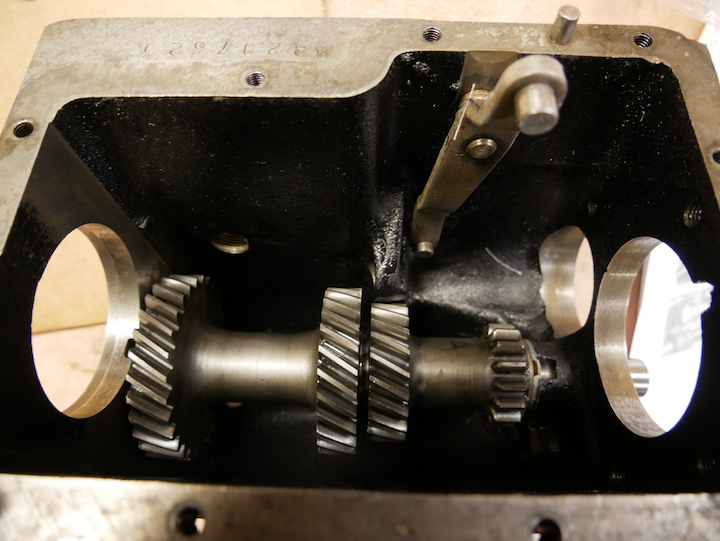
After disassembling three, I had plenty of bits to choose from. First, I selected the best main shaft, the tip is the weak point in the design. It should be undamaged and smooth. Any pitting or galling means replacement or repair.
With the main shaft sorted, I picked a gear cluster. All the wear and damage seems to happen on first, as this is both straight cut and unsynchronised. My clusters all had a few chips taken out. The one I chose had the most chipping, but all the others had pitting to the teeth where the hardening had gone through.
Following on from this, I considered the gears and input shaft. It makes sense to keep these “matched” where possible, to reduce whine.
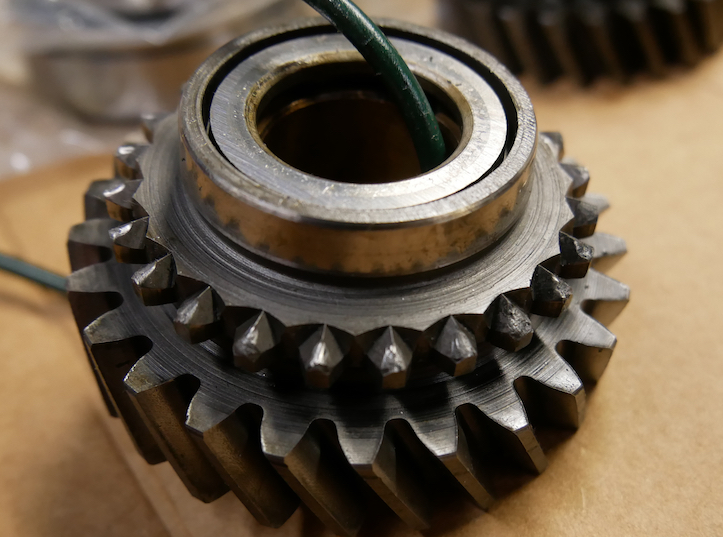
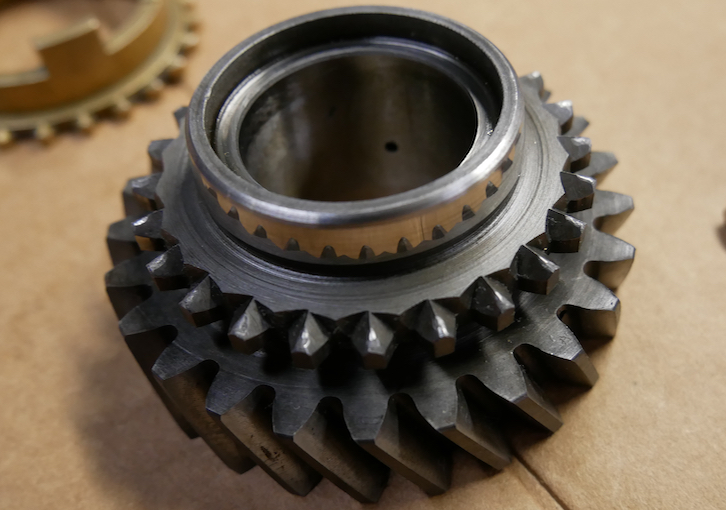
Considering the other gears in turn, I concentrated on checking the dog teeth for damage. I found second gear had suffered damage. Fortunately, I had a much better gear to substitute.
Next, I checked the end float of the bushes on the main shaft as per the workshop manual. 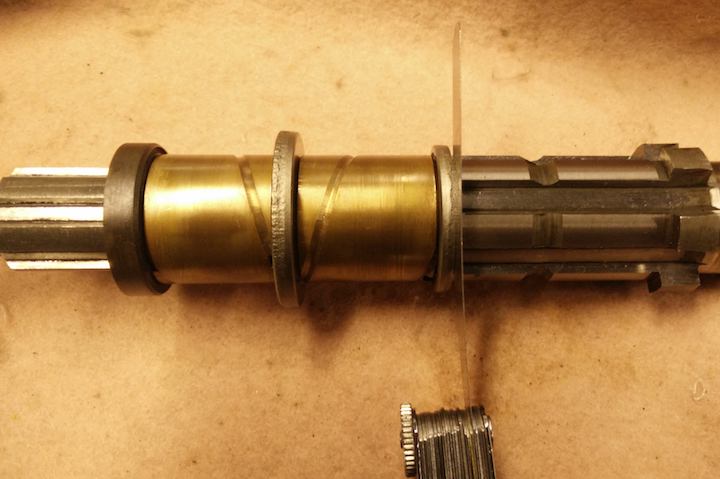
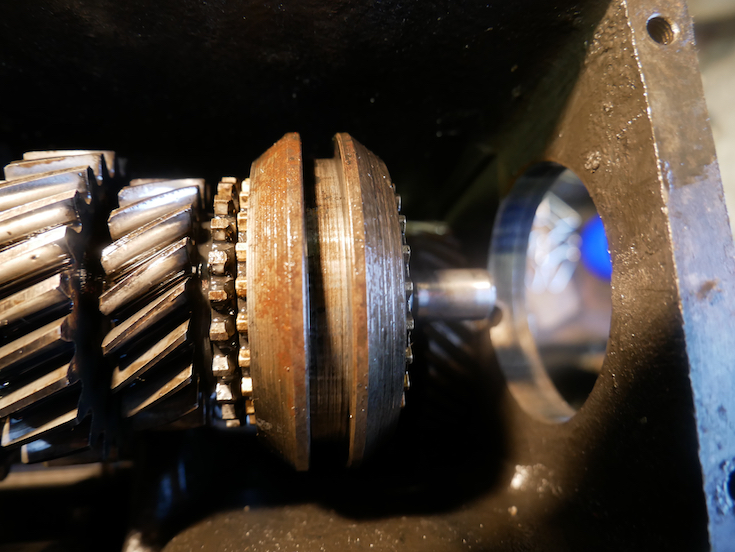
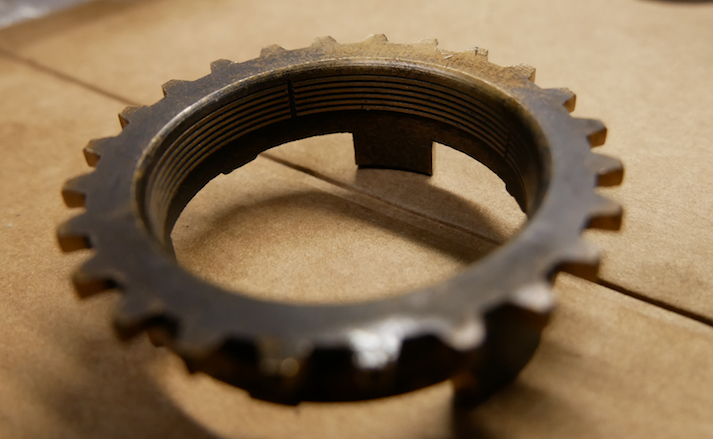
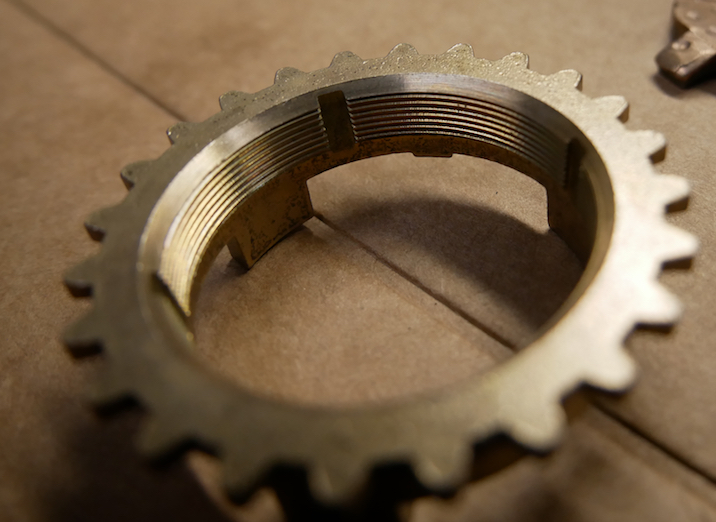
The final pieces of the puzzle are the synchro rings, reproduction ones aren’t well received so it’s best to stick with good used or NOS. Synchro rings have a series of ridges inside, these wear down. They should be pointed and reasonably sharp, not flattened off.
To match a gear to a ring, you can listen for an audible screech (warning: it’s ear piercing). Additionally, you can measure the gap between the face of the dog teeth and ring with feeler gauges, this will tell you how worn the ridges are.
Rebuilding
With the core components selected and cleaned up, the rebuild can begin.
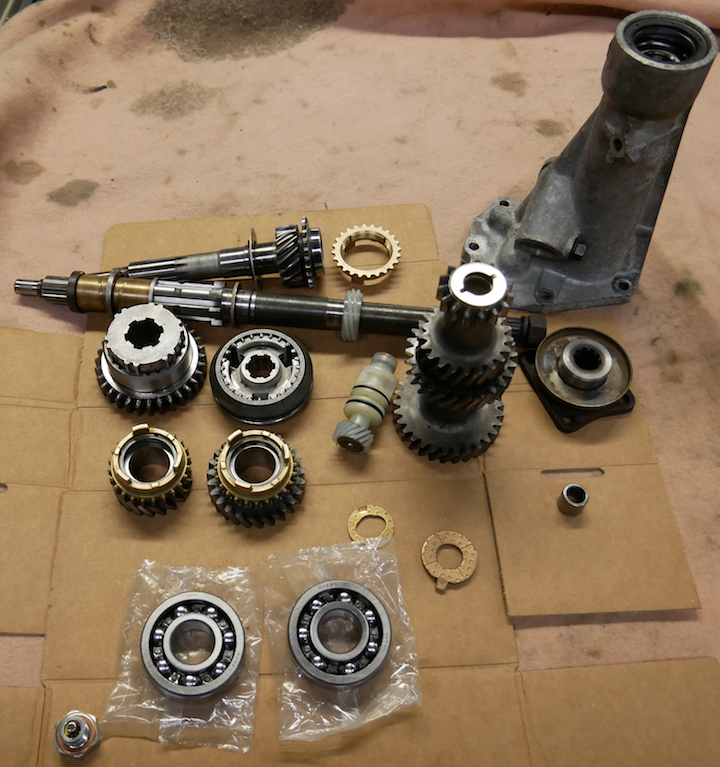
Starting off with more wanton use of the press, to fit the new bearings.
Then the cluster end float was checked with the new thrust washers. Some minor adjustment was required.
And a few hours later it was all back together, with no left over pieces!