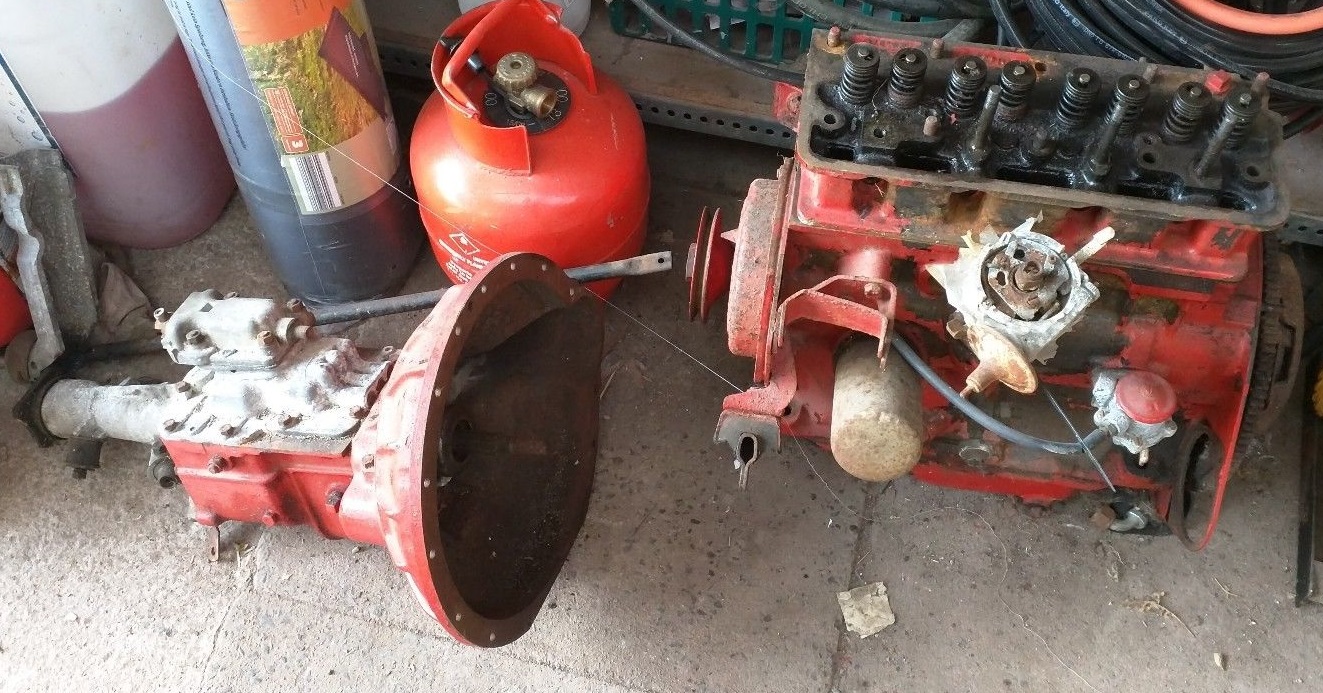
In the last blog we ended with the engine dismantled and the components at the engineers. Whilst waiting for the machining to be completed I started refurbishing and cleaning up the remaining components and ancillaries.
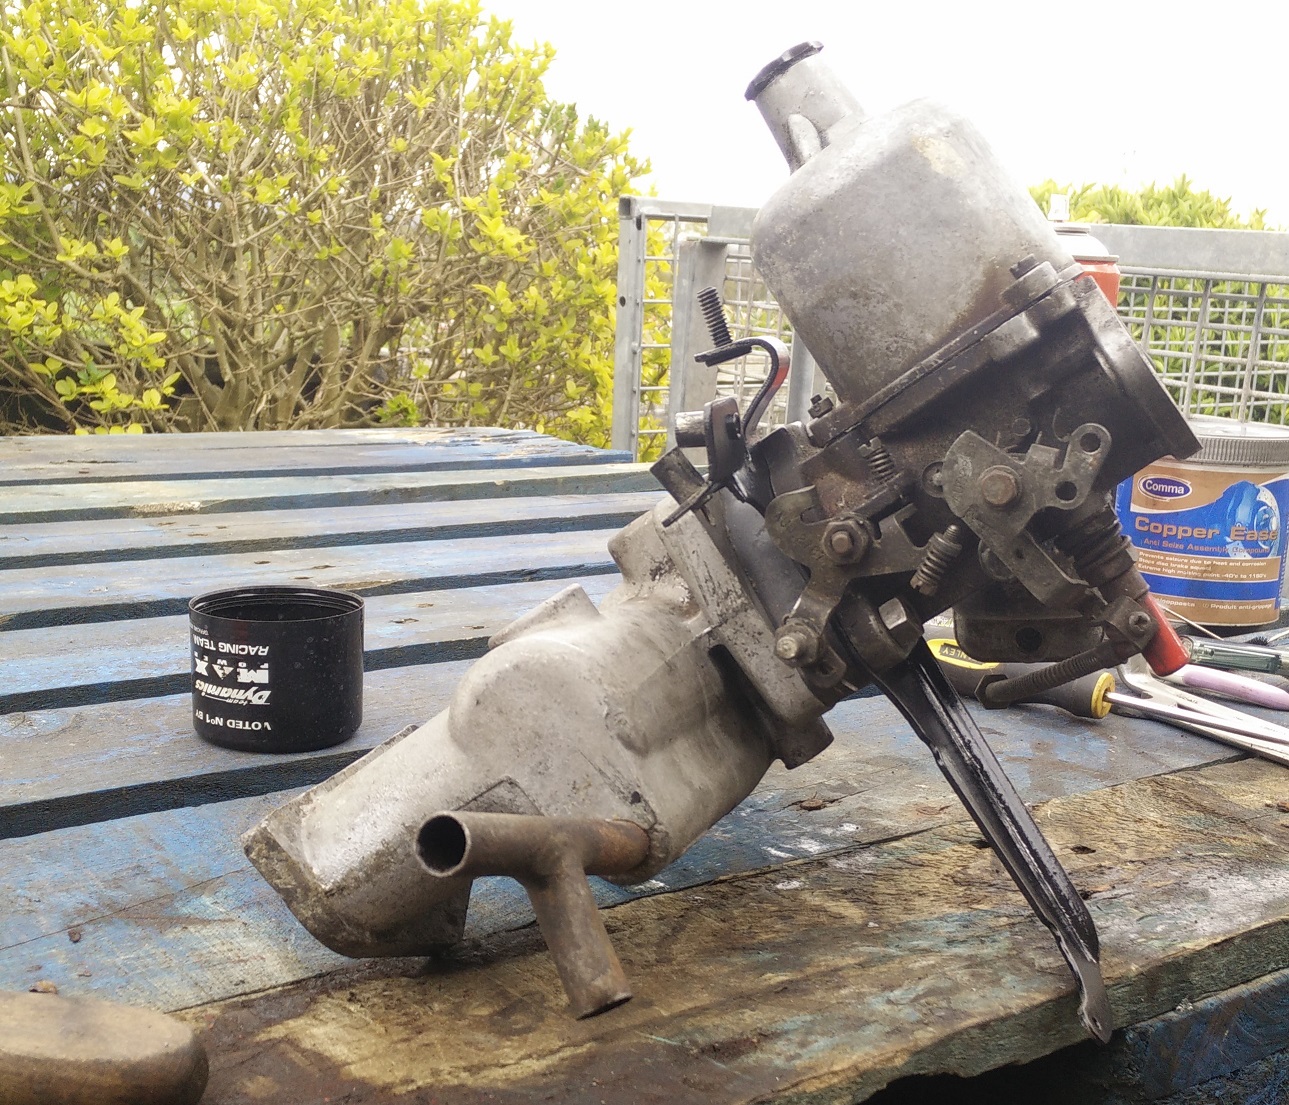
An SU HS4 carburettor (from a Mini) was sourced, along with the appropriate Triumph Toledo manifold. The carburettor was rebuilt with a new jet, “unsinkable” float, and needle.
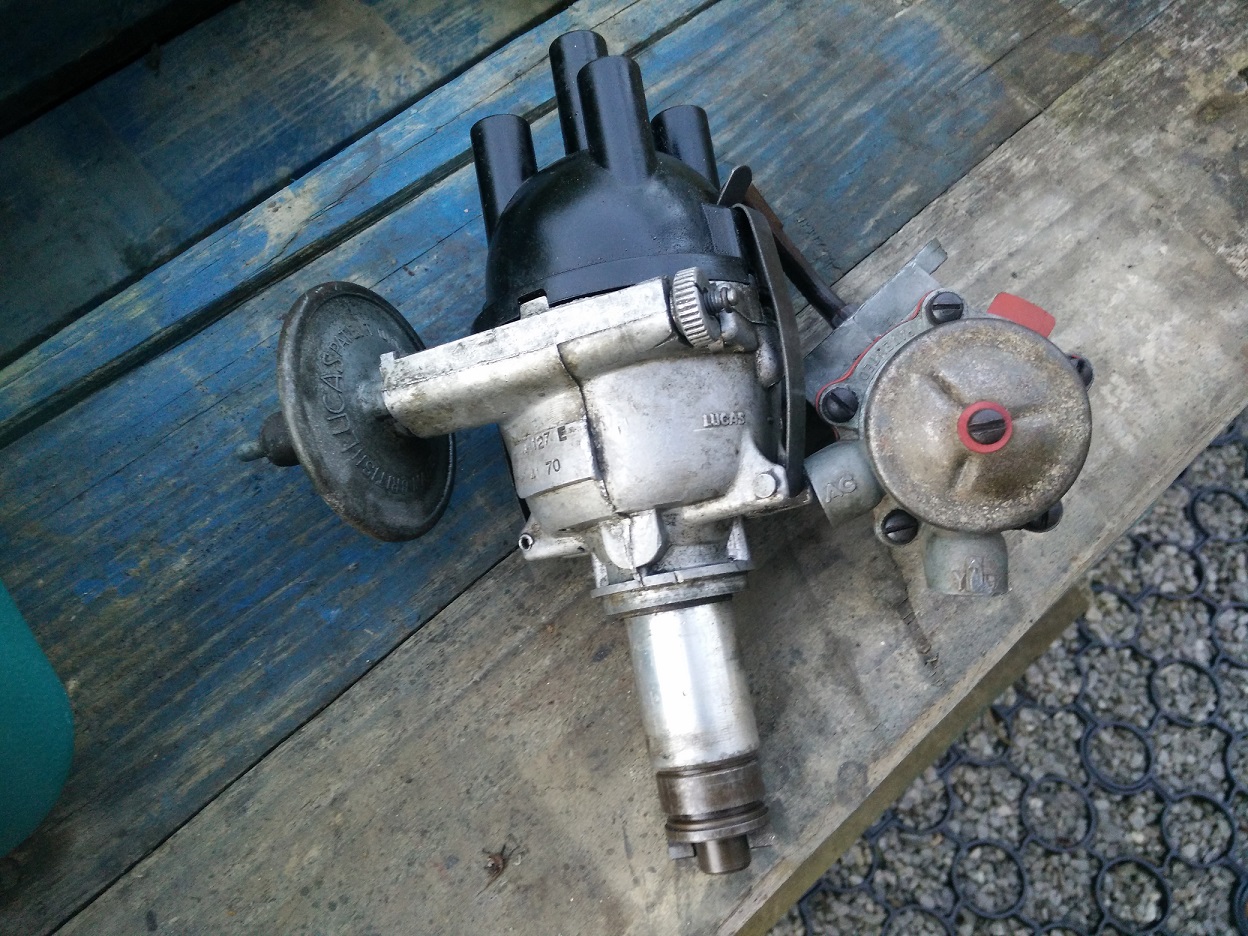
A distributor and fuel pump were refurbished too.

A little while later the block, crankshaft, cylinder head and connecting rods were ready to collect from the engineers, the following work was carried out:
- Crankshaft reground -0.010″ (mains and big ends)
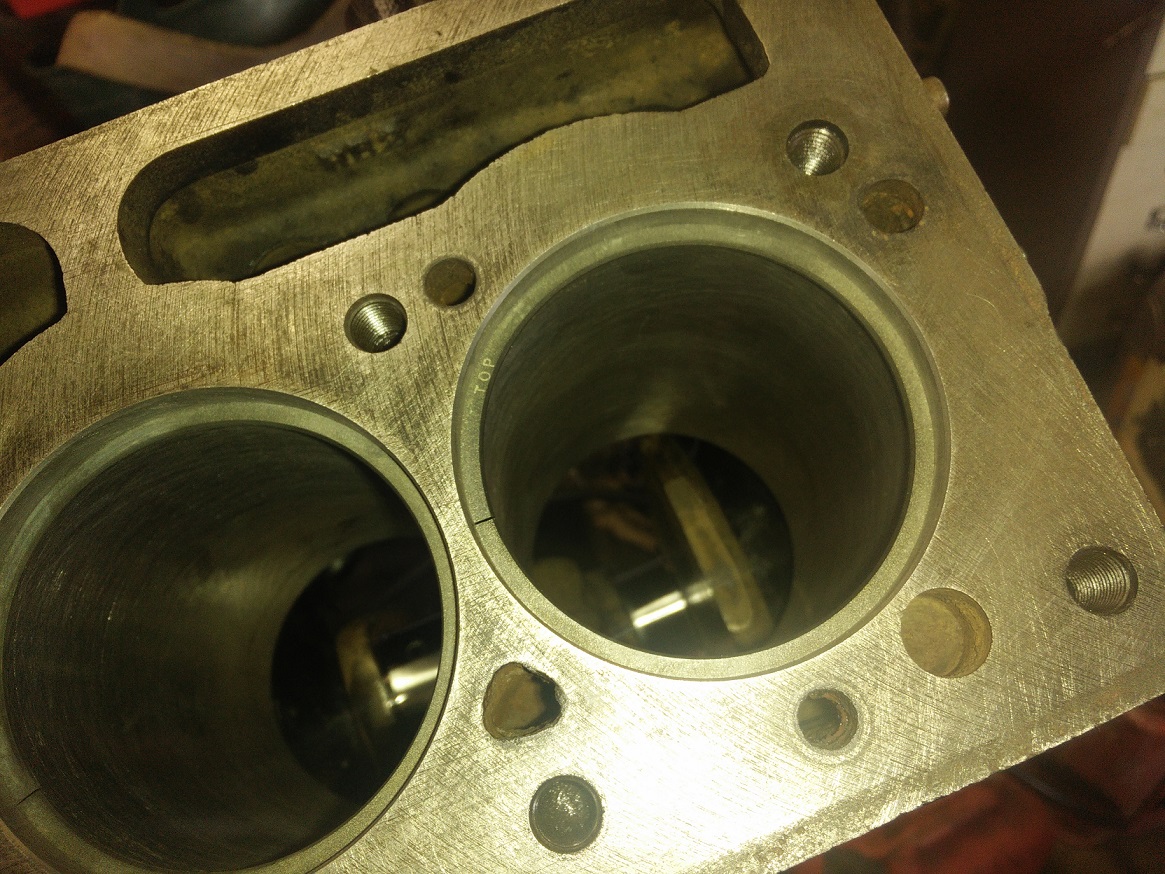
- Block rebored +0.040″
- Head skimmed -0.060″
- Connecting rods balanced to within 1g
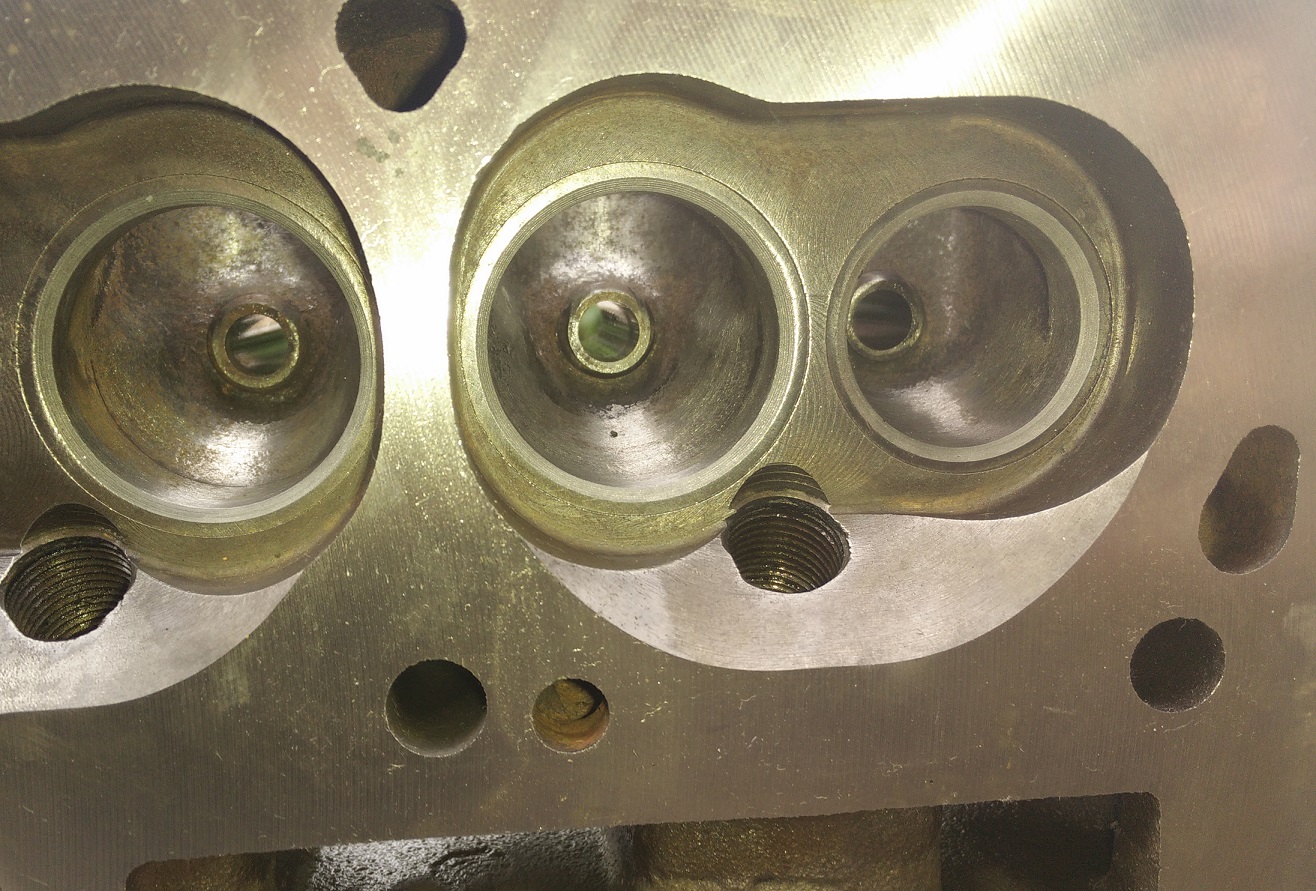
- Valves decoked and seats recut
- Head lightly ported and decoked
On receiving the parts back, a whole day was devoted to cleaning, paying particular attention to the oil galleries. Tedious, but important for engine longevity and reliability. Once clean, more time was spent masking and painting the block, head and other tin work with black engine lacquer.
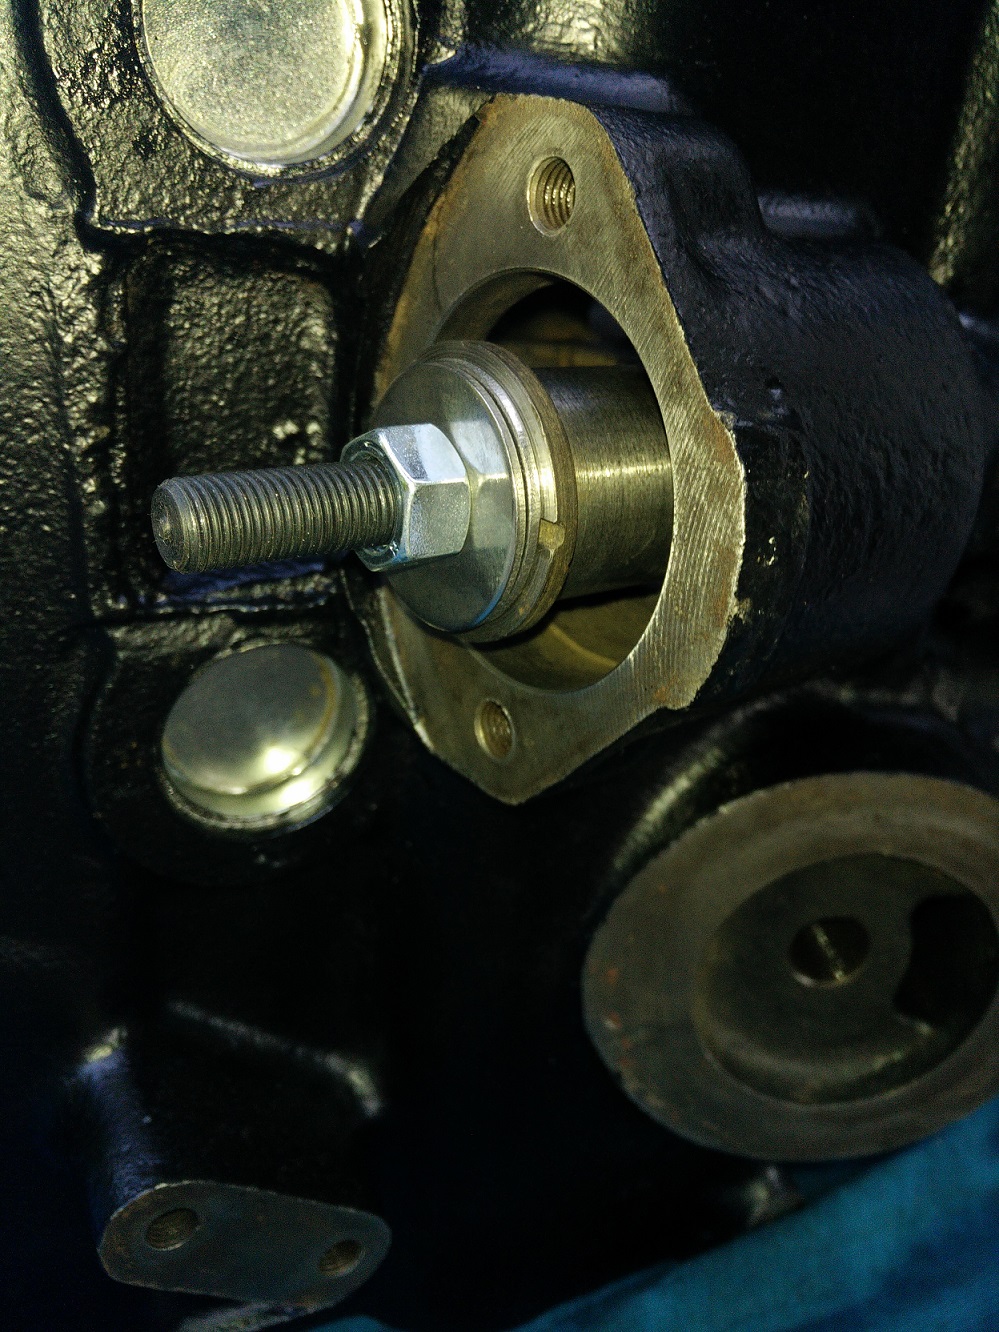
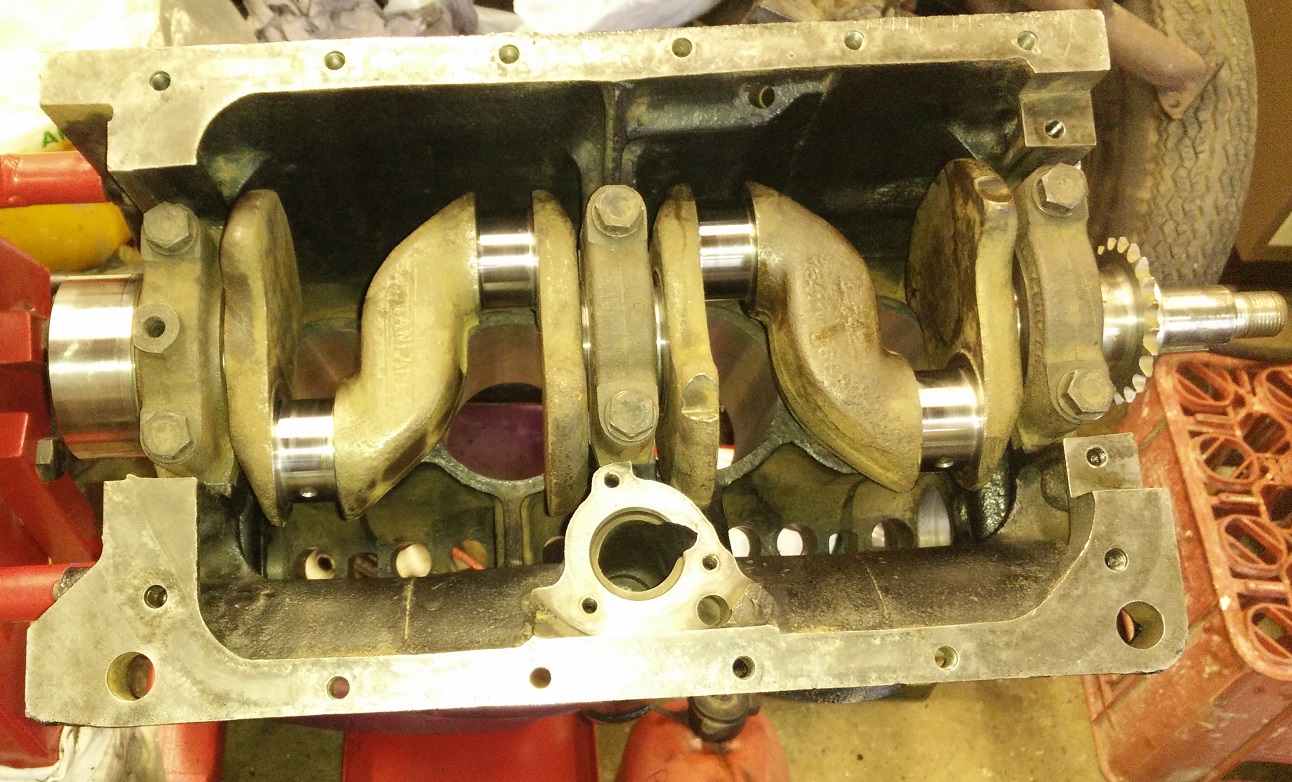
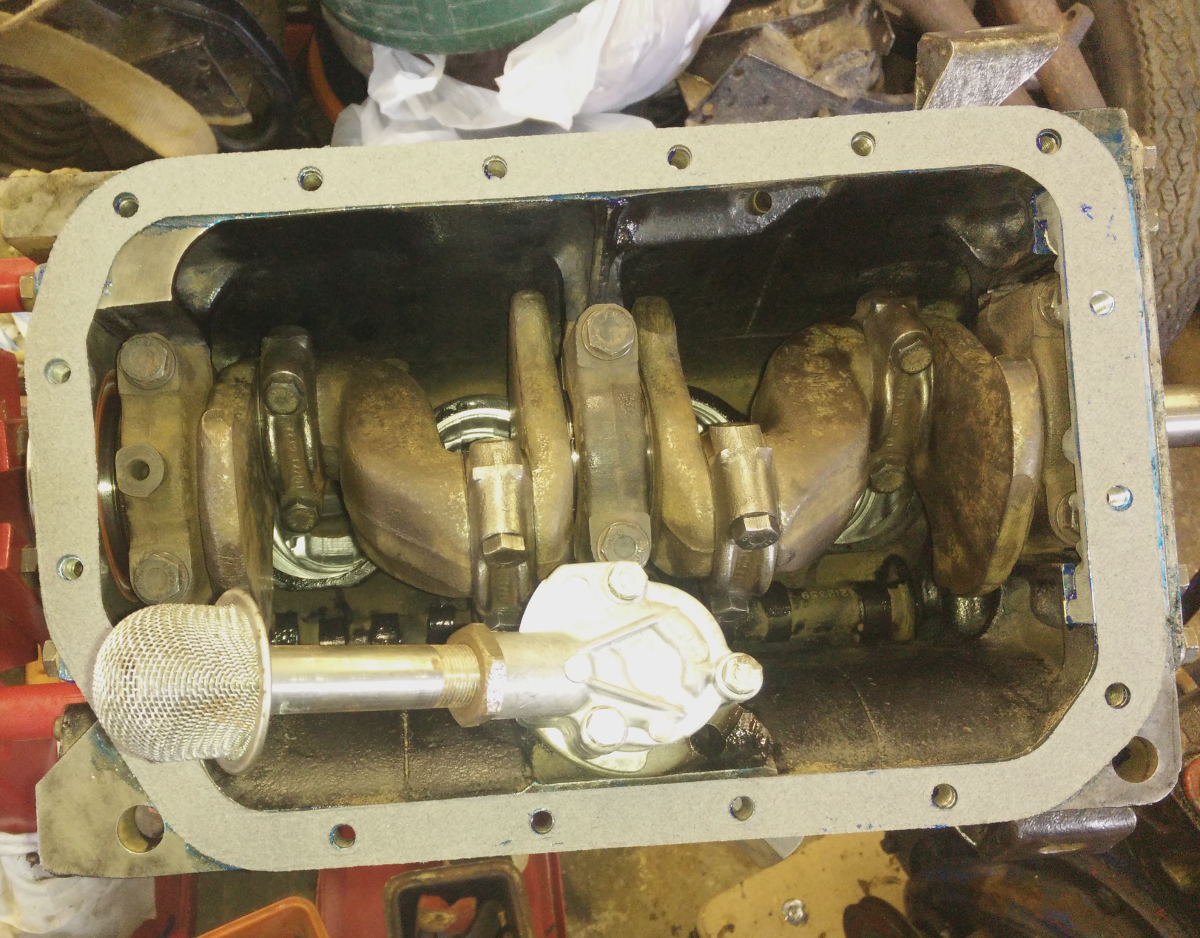
The first step was to install new core plugs, oil gallery plugs and refit the oil pump drive bush. Next, the crankshaft was installed with new bearing shells (Lead Copper type), checking the clearance (0.002″) with plastigauge.
After lubricating the main journals with assembly paste and checking for tight spots when rotating.
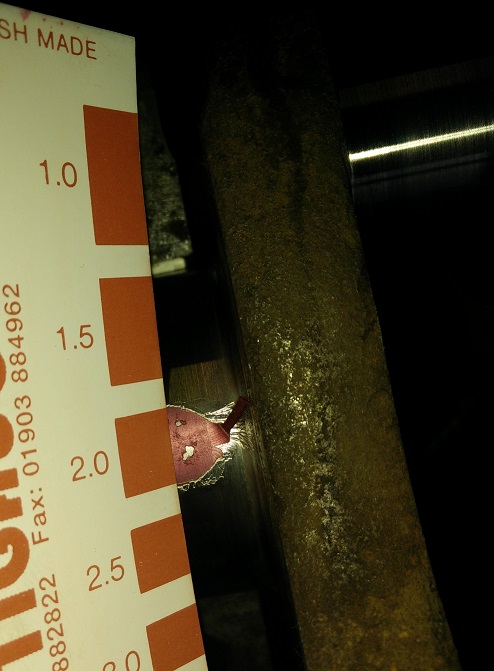
At this point, it is important to check the crankshaft end float (using a dial gauge). A figure of roughly 0.010″ was measured, a little too much. Substituting one of the thrust washers with an +0.005″ oversize one brought the end float into specification.
Next, I moved onto the pistons, starting with adjustment of the ring gaps.
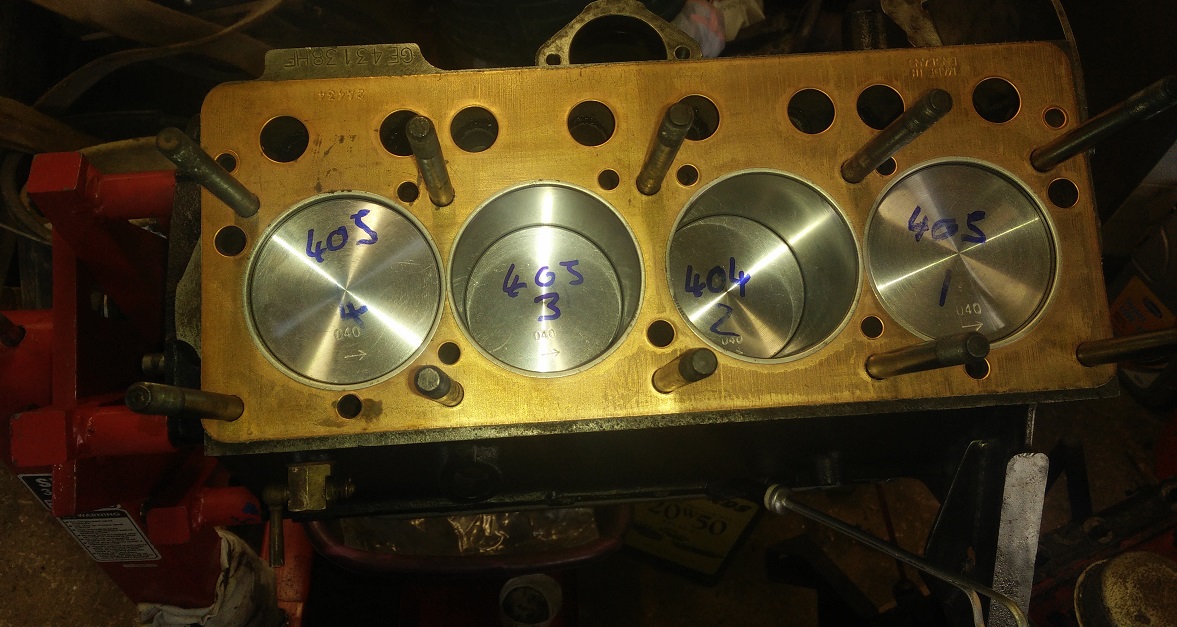
The pistons rings could then be installed, the connecting rods fitted, and then fitted into the block.
Moving upwards to the head, a small amount of fettling was required before fitting. The valve seating was checked by lapping with fine grinding compound, and the old valve springs replaced.
The head was then fitted, replacement pushrods were fitted along with the refurbished rocker assembly.

After this, the timing gear was fitted, the chain, both sprockets and chain tensioner were replaced.
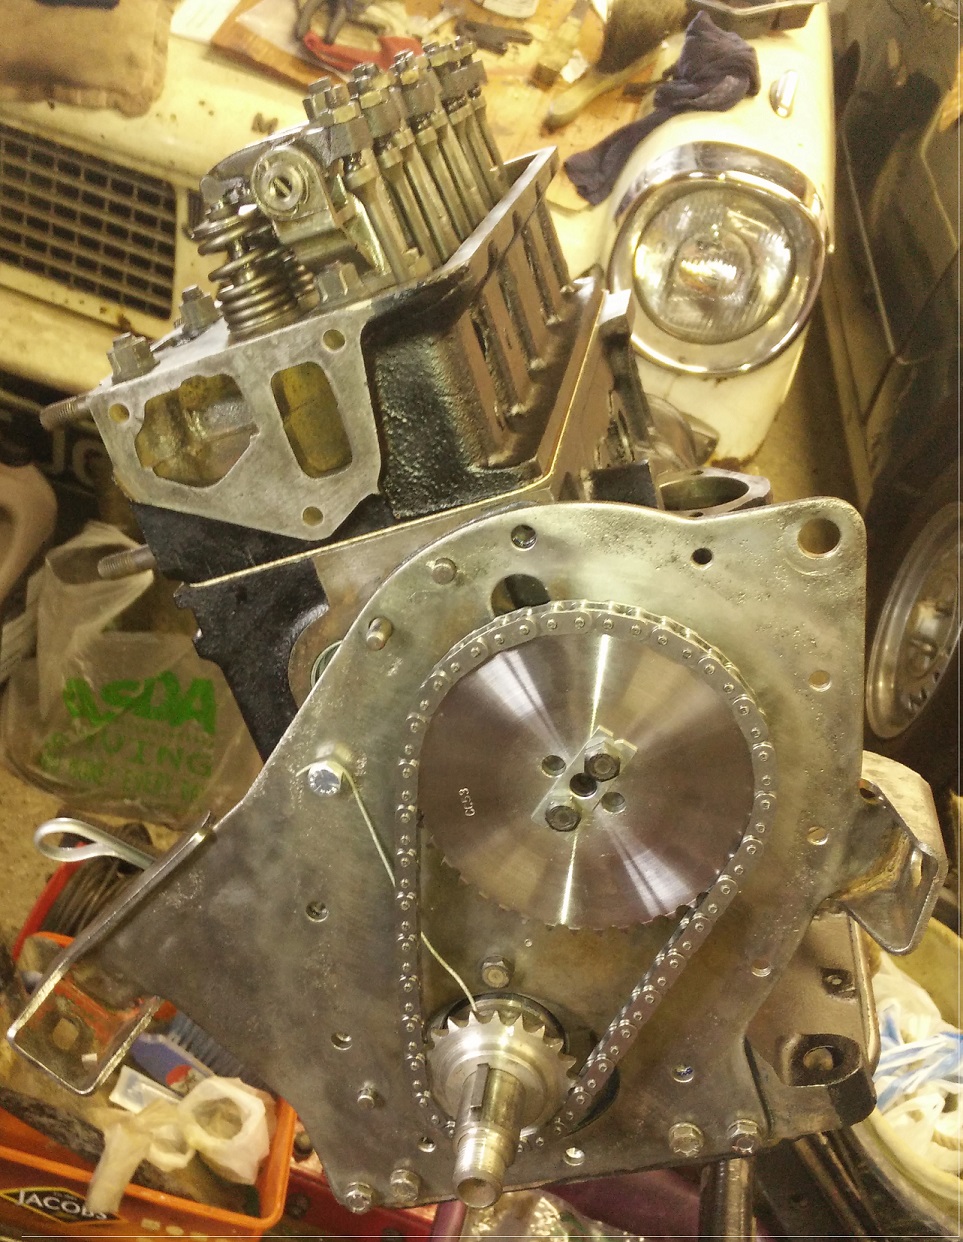
A few simple tasks like fitting the timing cover, engine back plate, flywheel, and rocker cover completed the rebuild. Before fitting the engine, the body needs to be repaired and refitted and the gearbox rebuilt. For now we’ll finish with a quick before and after: